Home » Without Label » How To Cut Crown Moulding For Kitchen Cabinets - 33+ THE AWESOME HISTORY OF CROWN MOLDING ON KITCHEN ... / Start out by taking your tape measure and getting the dimension of the cabinet where you plan on installing the molding.
How To Cut Crown Moulding For Kitchen Cabinets - 33+ THE AWESOME HISTORY OF CROWN MOLDING ON KITCHEN ... / Start out by taking your tape measure and getting the dimension of the cabinet where you plan on installing the molding.
How To Cut Crown Moulding For Kitchen Cabinets - 33+ THE AWESOME HISTORY OF CROWN MOLDING ON KITCHEN ... / Start out by taking your tape measure and getting the dimension of the cabinet where you plan on installing the molding.. Measure out and cut a length of crown molding that is at least a few inches longer than the side of your cabinet. Step 1 starting at an outside corner of the cabinets, measure the span going to the right. It's a best practice to cut crown moulding upside down on the miter saw. Crown molding that sits atop kitchen cabinets gives them a solid, finished look. There are two ways to cut and install scribe molding.
Here are the basics of how to cut cabinet crown molding effectively. A power miter saw is the best way to cut crown moulding once you measure the angles. Make sure that you take very detailed measurements as even being off by a fraction of an inch will make a big difference. Repeat for each cabinet side. In this video we will go over some tips and tricks that might help whe.
How to Install Cabinet Crown Molding | how-tos | DIY from diy.sndimg.com Hold the straight end against the wall and mark where the crown moulding exits the cabinet. Measure and mark the front section of crown molding to the cabinet width. Next you set your jig to reflect that angle (in my case 52): When doing this, the fence plays the part of the wall and the table plays the part of the ceiling. You must flip the material around to cut both ends of the inside and outside corners. Compound method (flat) molding laying with broad back surface down flat on saw table. How to cut crown molding corners with a handsaw. Staggering the heights also helped me to avoid having to cut inside corners.
Set your miter saw to 45 degrees.
To do this, cut pieces of crown moulding that are generously longer than each piece needs to be — giving you enough to work with but allowing you to work with manageably sized pieces. Place your tape measure on the edge of the crown and extend it to the length of one cabinet side. Measure and mark the front section of crown molding to the cabinet width. How to cut crown molding corners with a handsaw. *these two things will change depending on the cut you are making. Cutting the ends so that. *these two things are constant: Cut at one mark, then move the molding along to the next mark. Cut crown molding for side of cabinet measure the length of the side pieces. Start with a side piece. My angles were 45 degrees. There are two ways to cut and install scribe molding. One way to cut crown molding it to use the 90 degree intersection of the table and fence on a miter saw to play the part of wall and ceiling.
One way to cut crown molding it to use the 90 degree intersection of the table and fence on a miter saw to play the part of wall and ceiling. I finished the cutting and filling. Then, make the sister cut for the following side like before. Mount the crown molding to the cabinet using the brad nailer. When doing this, the fence plays the part of the wall and the table plays the part of the ceiling.
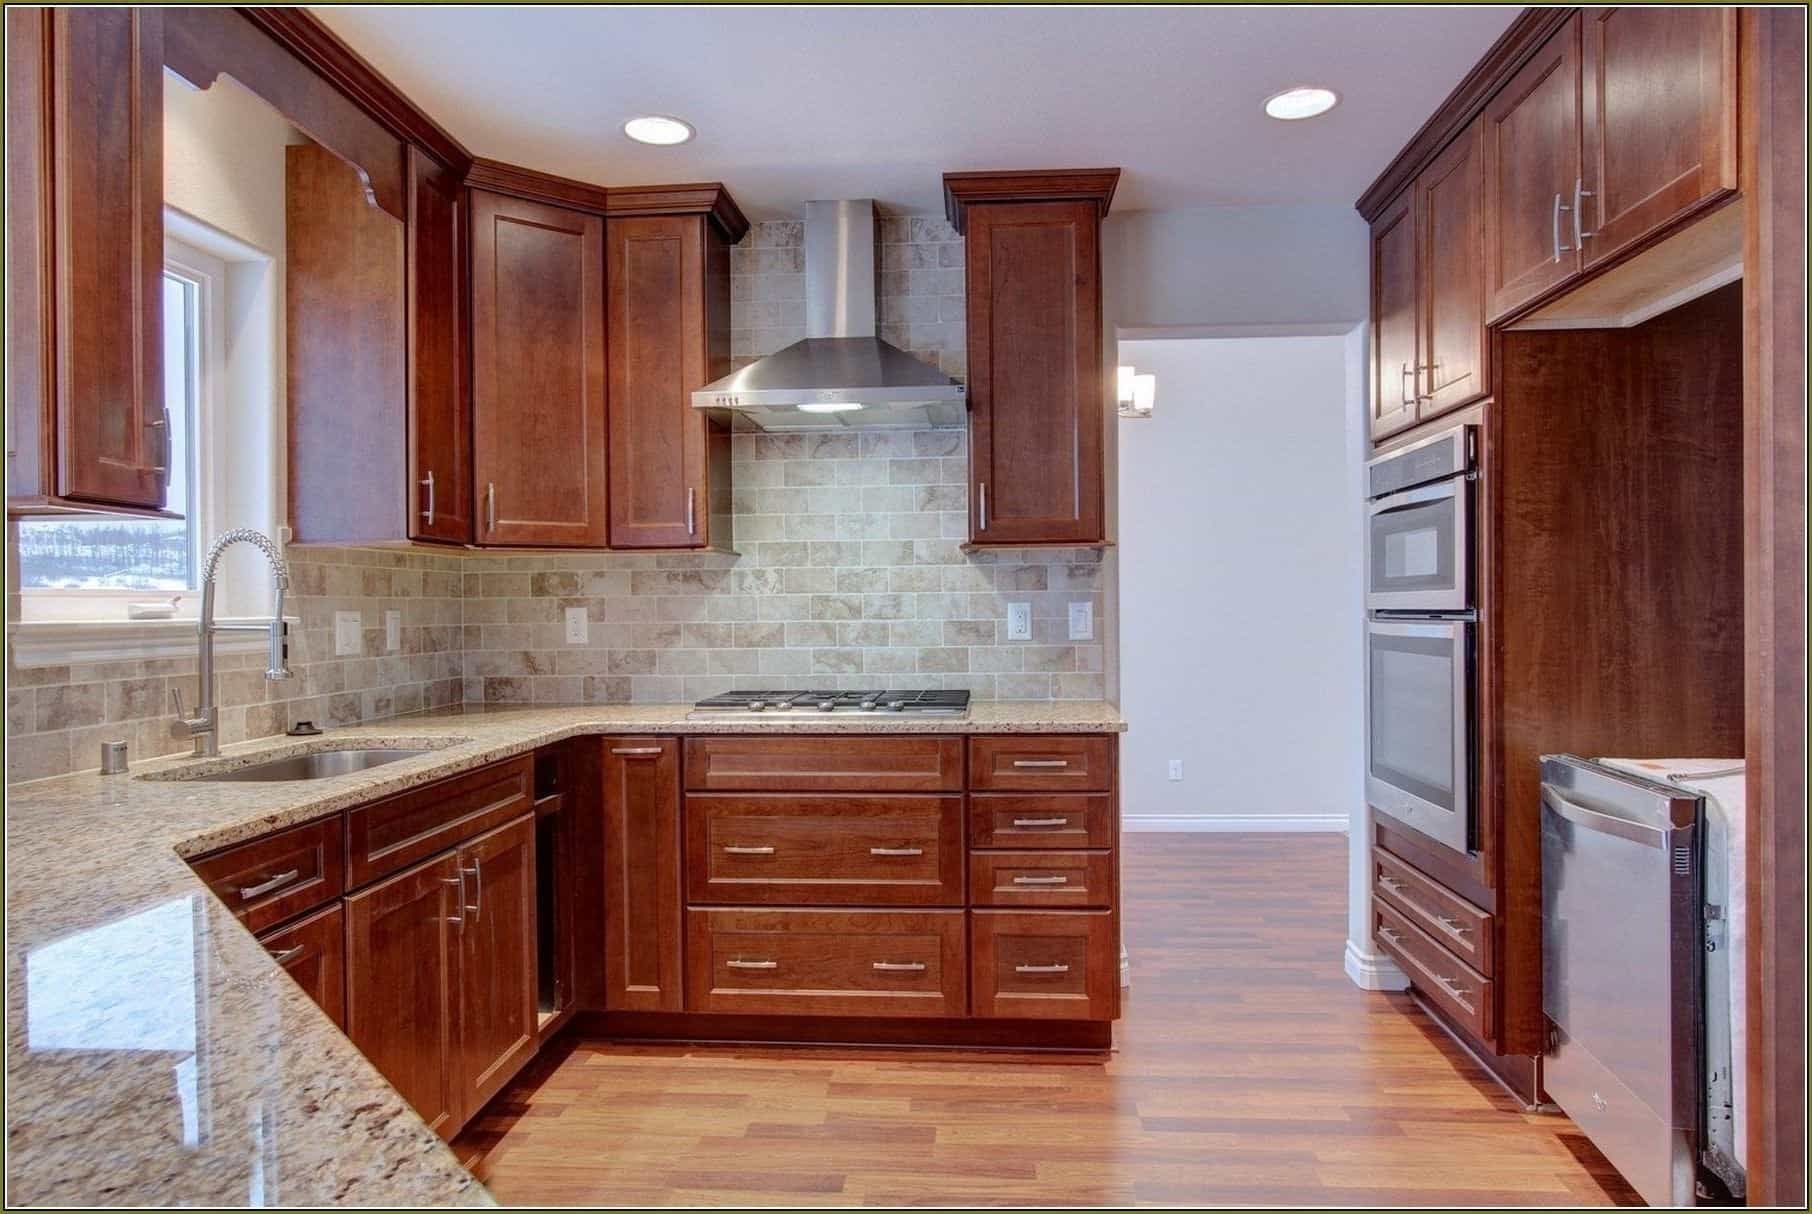
Shaker Cabinets With Crown Molding #24897 | Furniture Ideas from gotohomerepair.com Two ways to cut crown molding: Start out by taking your tape measure and getting the dimension of the cabinet where you plan on installing the molding. Repeat this process with the rest of the cabinets with outside corners. Take a piece of molding larger than that measurement, lay it on your miter saw, on the left side of the blade. This method of cutting crown molding can be done with any miter saw. Learn how to angle cut the gussets and where to locate them on the top of the cabinet. Make the miter cut for the front piece of crown molding. When doing this, the fence plays the part of the wall and the table plays the part of the ceiling.
Step 1 starting at an outside corner of the cabinets, measure the span going to the right.
Mount the crown molding to the cabinet using the brad nailer. This method of cutting crown molding can be done with any miter saw. Hold the straight end against the wall and mark where the crown moulding exits the cabinet. One way to cut crown molding it to use the 90 degree intersection of the table and fence on a miter saw to play the part of wall and ceiling. Cut crown molding for side of cabinet measure the length of the side pieces. Use a pencil to mark the exact spot that needs to be cut. *these two things will change depending on the cut you are making. Start with a side piece. Measure and mark the front section of crown molding to the cabinet width. The height of your trim is really based on your own preference. Check out our video review and demo of adding crown molding to your kitchen cabinets. To do this, cut pieces of crown moulding that are generously longer than each piece needs to be — giving you enough to work with but allowing you to work with manageably sized pieces. My angles were 45 degrees.
Repeat this process with another piece of crown molding. Start out by taking your tape measure and getting the dimension of the cabinet where you plan on installing the molding. Use a pencil to mark the exact spot that needs to be cut. Pick one side of your cabinet to start with. When doing this, the fence plays the part of the wall and the table plays the part of the ceiling.
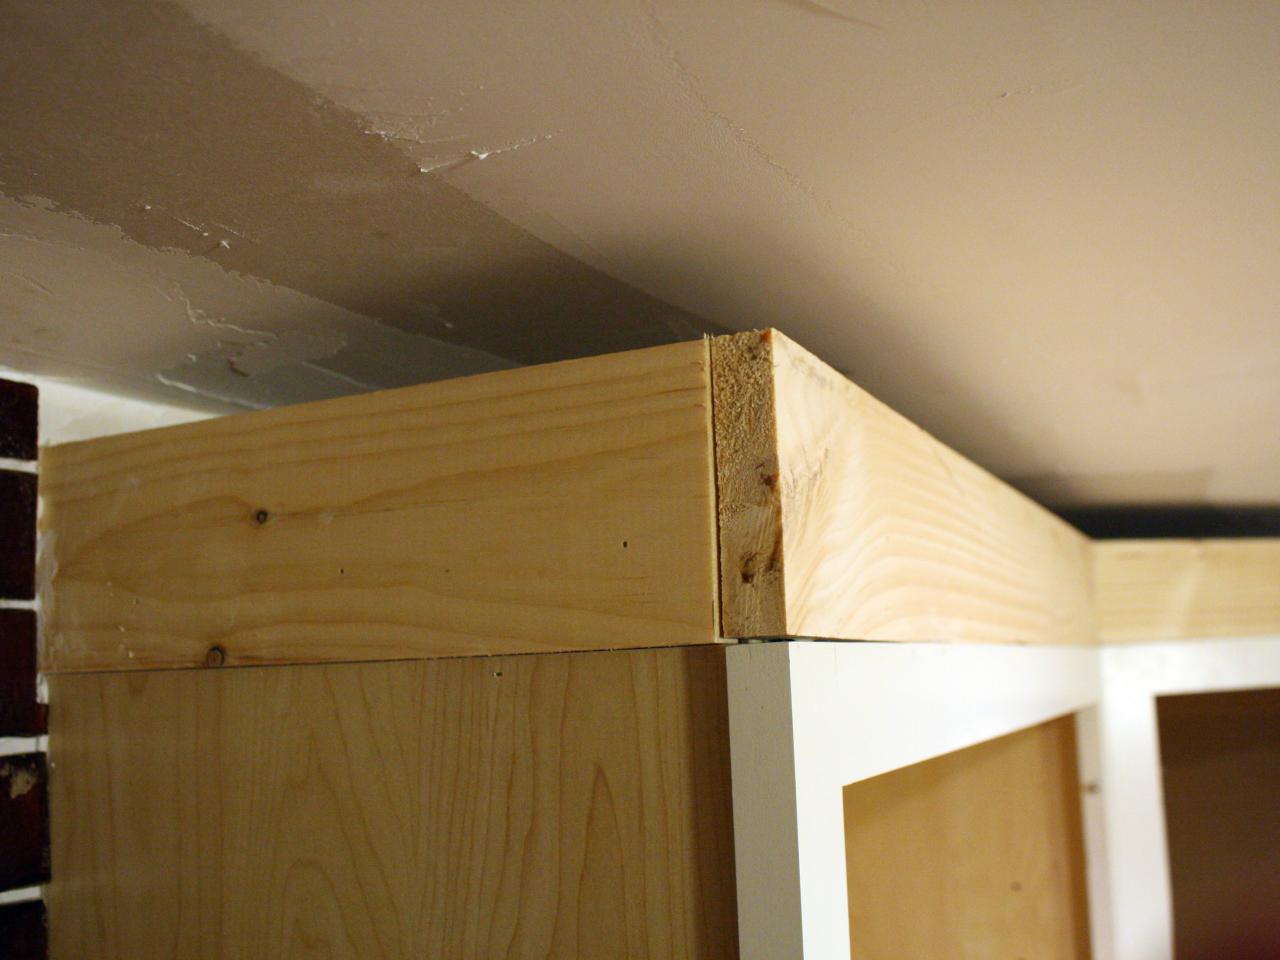
My DIY Kitchen: Cabinet Crown Molding, How to Fake the ... from 1.bp.blogspot.com Instructions step 1 provide a nailing surface for crown moulding by attaching solid wood mounting strips to the top edges of the cabinets. Crown molding that sits atop kitchen cabinets gives them a solid, finished look. Next you set your jig to reflect that angle (in my case 52): In this video we will go over some tips and tricks that might help whe. Start out by taking your tape measure and getting the dimension of the cabinet where you plan on installing the molding. Repeat this process with the rest of the cabinets with outside corners. A power miter saw is the best way to cut crown moulding once you measure the angles. Cut at one mark, then move the molding along to the next mark.
My angles were 45 degrees.
Start out by taking your tape measure and getting the dimension of the cabinet where you plan on installing the molding. Measure a piece of crown molding equal to the length of the cabinet. Mount the crown molding to the cabinet using the brad nailer. Start with a side piece. Measure and mark the front section of crown molding to the cabinet width. Repeat this process with the rest of the cabinets with outside corners. House flipping brothers dave and rich show how to install kitchen cabinet crown molding and trim with tips.this video covers all aspects of cabinet molding i. Here are the basics of how to cut cabinet crown molding effectively. My angles were 45 degrees. Step 1 starting at an outside corner of the cabinets, measure the span going to the right. Pick one side of your cabinet to start with. How to cut crown molding corners with a handsaw. Repeat this process with another piece of crown molding.